Showing posts with label diy. Show all posts

Friday, March 16, 2018

Family Fun (pottery)


  I received a gift certificate last year to PottsnPaints and decided to share it with my kids.  This was the first time I had ever painted anything and of course it was a first for my kids too.

  We looked at all the shelves to decide which item(s) we were going to paint!


We looked in the clearance section.  


They of course have a big holiday assortment. Halloween, Christmas etc.

How about some dishes?


Everyone choose their items.


Then we were introduced to the color options.


It was so neat to see all the colors.  My kids couldn't wait to select their colors.  They had such an organized system.  Everything was numbered and easy to locate.


Our colors were chosen and it was ready to get busy!


My daughter selected an owl to paint.


My son selected a spider web to paint.

After we were done I tried to explain the process to them after wards.


We left them to be glazed and returned a few weeks later to pick them up.

My kids were so happy first off to see their pieces but they really loved them when they saw how shiny the pieces were.


My son made sure to make his as colorful as he could!


My daughter worked very hard on her details!


I think we had a great day together and we have physical pieces to go with the mementos this time around! 

I hope we do this activity again sometime.  We could make gifts for others, ornaments for the tree or anything.

Find time for your family this weekend and do something special!

Sunday, January 7, 2018

Driving down Candy Lane


  There I was with my kids enjoying the movie Wreck-It Ralph when I released what a perfect idea it would be to make a car based on the fun candy car that Vanellope (The Glitch) raced with!


   Her car was made up with the gummy worm wheels, sprinkles, chocolate syrup, gumdrops, cookies and all other yummy things.  I thought how fun it would be to make one.  Enter Halloween candy! 


  Yep, and surprisingly my daughter had more then I thought!  I don't know how she managed to have so much.  When it was candy time I clearly asked her brother for candy and not her.  We will remedy this situation now.

  I let the kids grab whatever they wanted to use to make their car.  My daughter grabbed her one and only Rice Krispy treat. My son had to take more time and be creative with his.  I also joined in the fun with my own idea.

  My daughter had a head start on her car.  It was coming out great.  She had wheels, a driver, steering wheel.


 My son decided he was making a car boat!  He was the one guilty of the most candy consumption during this process but, definitely the one with the biggest imagination!


  After all my suggestions I had to jump into the fun too.  I had so many endless wheel suggestions but changed it up based on limited options.


 We all used a variety of candy to assemble our cars!  Tootsie Rolls, Gobstoppers, candy bars, lifesavers, gummy bears, Dots, Nerds and more 


Even though my son's surrounded his boat with water.


We had a race!


I applaud my kids for the good time they gave me.  They had fun, helped each other with suggestions for parts and there was no arguing!

The race was a three way tie but, our bellies won in the end!


When we were making these I thought what a fun idea for a birthday party activity or movie theme activity!

I'm not going to assume everyone else still has Halloween candy but, do you have Christmas candy left?  

Monday, October 2, 2017

DIY Fall Swag


  Tis the season to bring some nature inside.  I  haven't been privileged the fall colors yet so I chose to work with artificial leaves.  I picked up the leaves and the raffia from the dollar store.

  For this project I used:


 Raffia and artificial leaves.


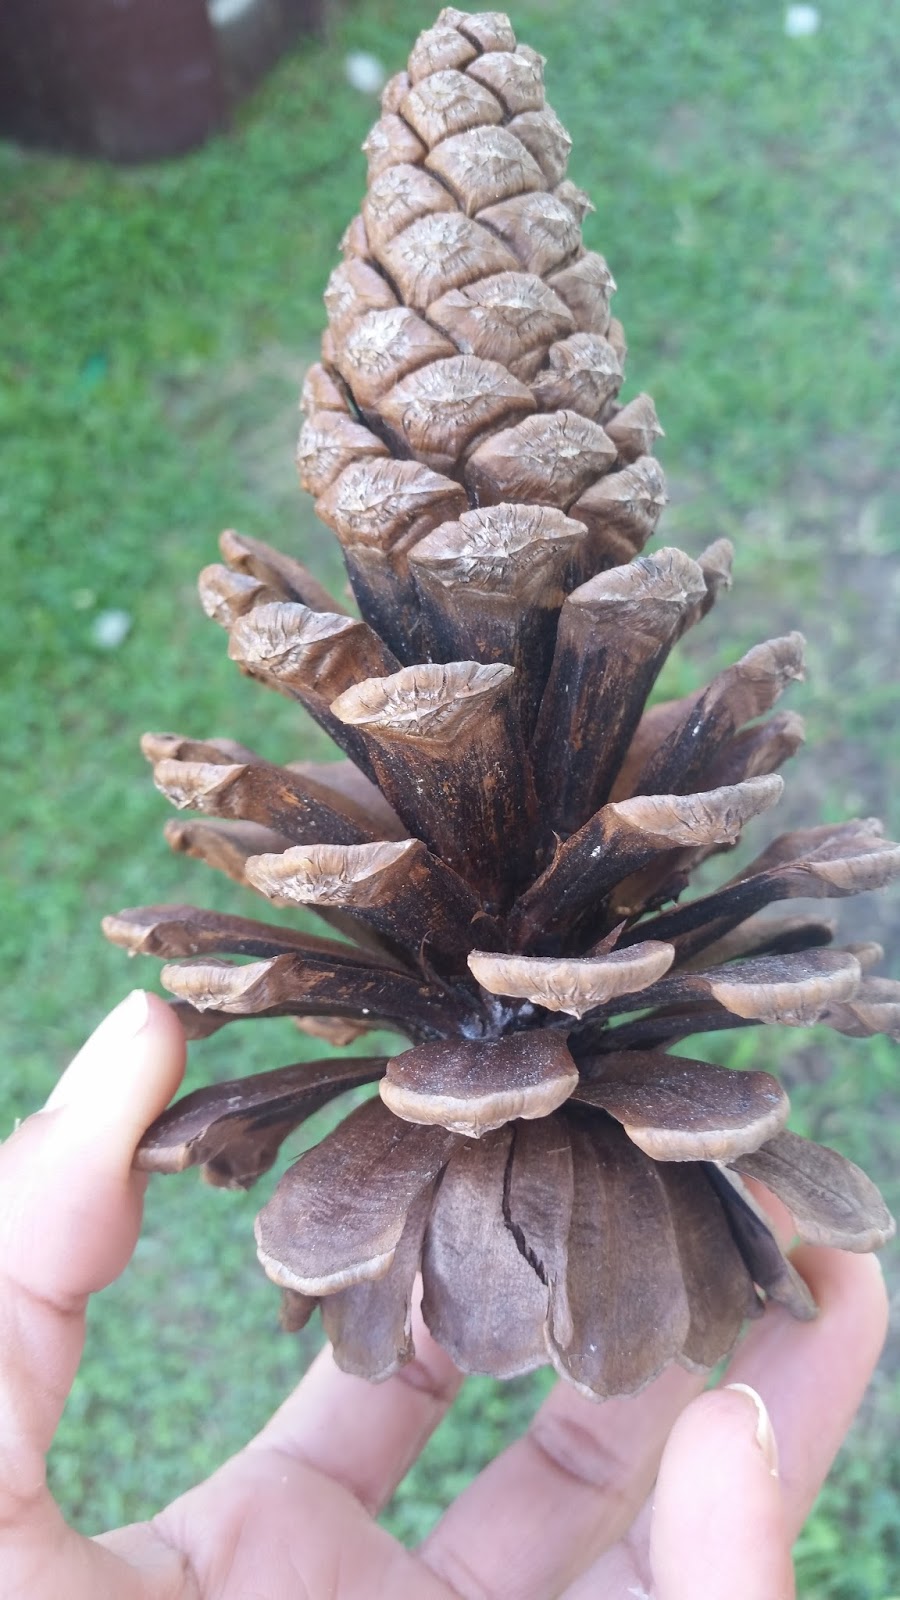
Pinecone

Pick a pinecone that is open all the way.  That way you can stagger your leaves.

I poked holes in the leaves tied a knot and hot glued the raffia to each leave to keep them secure.  I cut the raffia in various lengths to give the look more depth.


After I had all the individual leaves glued to the raffia I glued it to the pinecone in different areas.


Your quantity of leaves is your personal preference.

I tied another piece of raffia around the top, glued it and that's how I have hung mine.


For $2 and some nature it's not a bad display.  I could have made two and put one on each side of the curtain for decoration too.

Have you started decorating for fall?  Do you make some decorations with nature?

Wednesday, March 15, 2017

Pot of Gold Craft


  I wanted to make something to give away that represented the upcoming holiday, but was easy enough for kids to help.


  Green is the focal point and everyone wants gold but in this case chocolate will have to do.  Does that about sum up St. Patrick's Day?

                 
  I picked up the pot at Walmart for under $1.00

  Pipe cleaner I had on hand would have rather had gold but silver had to do.


Purchased a spool of black ribbon under $2.00 also at Walmart.


  Paint was 2 for $1.00 also at Walmart, so I grabbed a couple colors and one was the green.

 Hot glue to hold everything together I had on hand!

  No plans for these pots to go outside so I just painted them first.


  Figure out your ribbon placement and cut it appropriately and secure it with hot glue.


  I had to decided based on the size of my ribbon how big I wanted the buckle.  Which was 2 pieces bent into "L" shapes and one piece for the middle.  I then glued it in the middle with the hot glue gun.


  Lastly, I had to add gold to my pot.  This officially completes the pot!  I'm considering to give packets of seeds away on Earth Day.


         Happy St. Patrick's Day everyone!

Monday, March 13, 2017

S'mores fireside


  Spring is slowly approaching which means the family and I can spend more time outside warm and comfortable.  We spend our time hiking, biking, boating and spending some quality time at the beach.  We even go camping a few times over the summer.

  I recently read that March is National Craft month and I wanted to jump in on the fun.  Although I didn't make this craft up it was fun to make and will get the kids extra excited for our future camping.


  What a fun craft to have the kids make for f is for fire, c is for camping, m is for marshmallows.  So many ways to fit it in to your craft line up or just because it's cute, easy and fun!

 Find the full directions here.

Thursday, February 9, 2017

W is for Watermelon ( kids craft)


  This week we are discussing the letter w here.  I decided we needed to make a craft and watermelon it was.  Which is almost kind of sad considering my little student doesn't even like watermelons.

  For this craft you may already have the basic supplies on hand.


1 paper plate
Red paint
Black paint
Paint brush
Scissors 
Glue
Q-tip
Green paper

  I selected this craft and made it especially like this to allow different tools and techniques for my son to complete.

  Folding, cutting, gluing, painting and dotting.  They all take a different level of not only patience but also require you to change your thinking, hand and eye coordination and actually watch the creativity of the watermelon be born as he's working on one step at a time. 


Fold the plate in half.  I did this part and made it as even as I could.  Older kids could probably do this by themselves.


Cut the green sheet for the rind.  The size of the pieces don't matter.  So give your little one the scissors and let them go at it.


After the rind was put on we colored the inside red.  I think it probably works better this way then glue first and paint second just based on mess I'm assuming.


After the red paint has dried we added black dots to represent the seeds.  I used q-tips for this part as it would make the dots smaller.  Challenges the little ones with their grip and precision.


The perfect watermelon.  It sits up and painting both sides gives it a nice look.  Of course you could use this piece for naming the parts or incorporating it into a lifecycle of a watermelon.  We discussed the colors and the different parts.  I wonder if the next time I pick it up at the store if he will eat it.


What's your favorite fruit?  I made several pinterest recipes utilizing watermelon last year. Check that out here.

Tuesday, December 13, 2016

Let's Craft! DIY wreath


  It has been a good holiday crafting season for me.  I have managed to make some gifts that I am proud to give away.  I'm far away from opening a shop and selling but I think I can confidently slide my wares to those close to me!

  This project was first seen here.  Gabbi provides you with easy instructions if you have the patience to tackle this project yourself.  I think I have earned a stripe for accomplishing this but if your feeling less motivated she will help you out!  She has an Etsy shop and sells them.

  I'm not going to provide you with the steps.  Gabbi has that all covered.  Hop over to her site and make one or buy one.


I spent $6 on everything you see.  I bought everything at the Dollar Store.

 4 tube of ornaments (red,green,gold and silver)
 1 gold strand of garland
 1 green foam circle
(Green ribbon to hang I had on hand)

Did you know that $6 could look this good?  Go ahead and impress your family and maybe a friend or too.

  Don't forget to hop over and check out Gabbi's Etsy shop.

  So many wreaths so little time. This is my 3rd one!  I'll show you my other one later!

Thursday, December 8, 2016

Mini Wreaths (DIY)


  I have spent a lot of time on Pinterest.   Certain times of the year I spend more time on there then others.  In the spring I start looking at garden ideas and bright and festive fun, summer I am looking for kids activities and maybe some snacks but winter has me looking for gifts.

  Not everything I make is gift worthy (in my opinion) or turned out so neat I want to keep myself.  So stay tuned for the rest of the month to catch glimpse of what I'm making.  Most of it will be cheap (think dollar store purchases, recycle or items from home) and easy to make.

  Today its about the mini wreaths.  These can be made in a flash and decorated in a variety of ways to personalize them.  You need a ring from the top of a canning jar.


  I now have a couple jars without the lids but I heard you can buy just lids so I will hold on to that.  My jars have been sitting under the sink so it's about time something got done with at least a part of them.

  I choose twine for my first one but you can choose anything. Ribbon, garland, tape or anything you can wrap.


  After you have your wrap of choice start on one end and tightly wrap it around the lid.  You don't want to see the lid or any gaps.


  Continue around till you meet the place where you started.  I added a dab of glue to secure the end.


  You are finished with your wreath and ready to embellish it anyway you want.  I choose to make a simple bow for the top.  Grab some mini letters and make one for each of your kids, add some red puff paint and leaves for holly or wrap a ribbon around it.  The bare wreath is your canvas to personalize!


Do you have any plans to make ornaments or gifts this year?