Showing posts with label ornaments. Show all posts

Wednesday, December 21, 2016

Christmas Ornaments equal Holiday Gifts


  Tis the season to break the bank or get creative.  Depending how many supplies you have on hand will depend on how many trips to the store but these trips still shouldn't break the bank.

  Over the last few days I have made items for my daughter to give as gifts.  A few trips to the dollar store and items I have had on hand have aided in some nice gestures of thoughtfulness and kindness.

  My two main items for gifts inspired by Pinterest:

A wine cork.  Which is really easy to find even if you don't drink.  Stop at a local restaurant, check with neighbors or even grocery stores that have wine tasting.
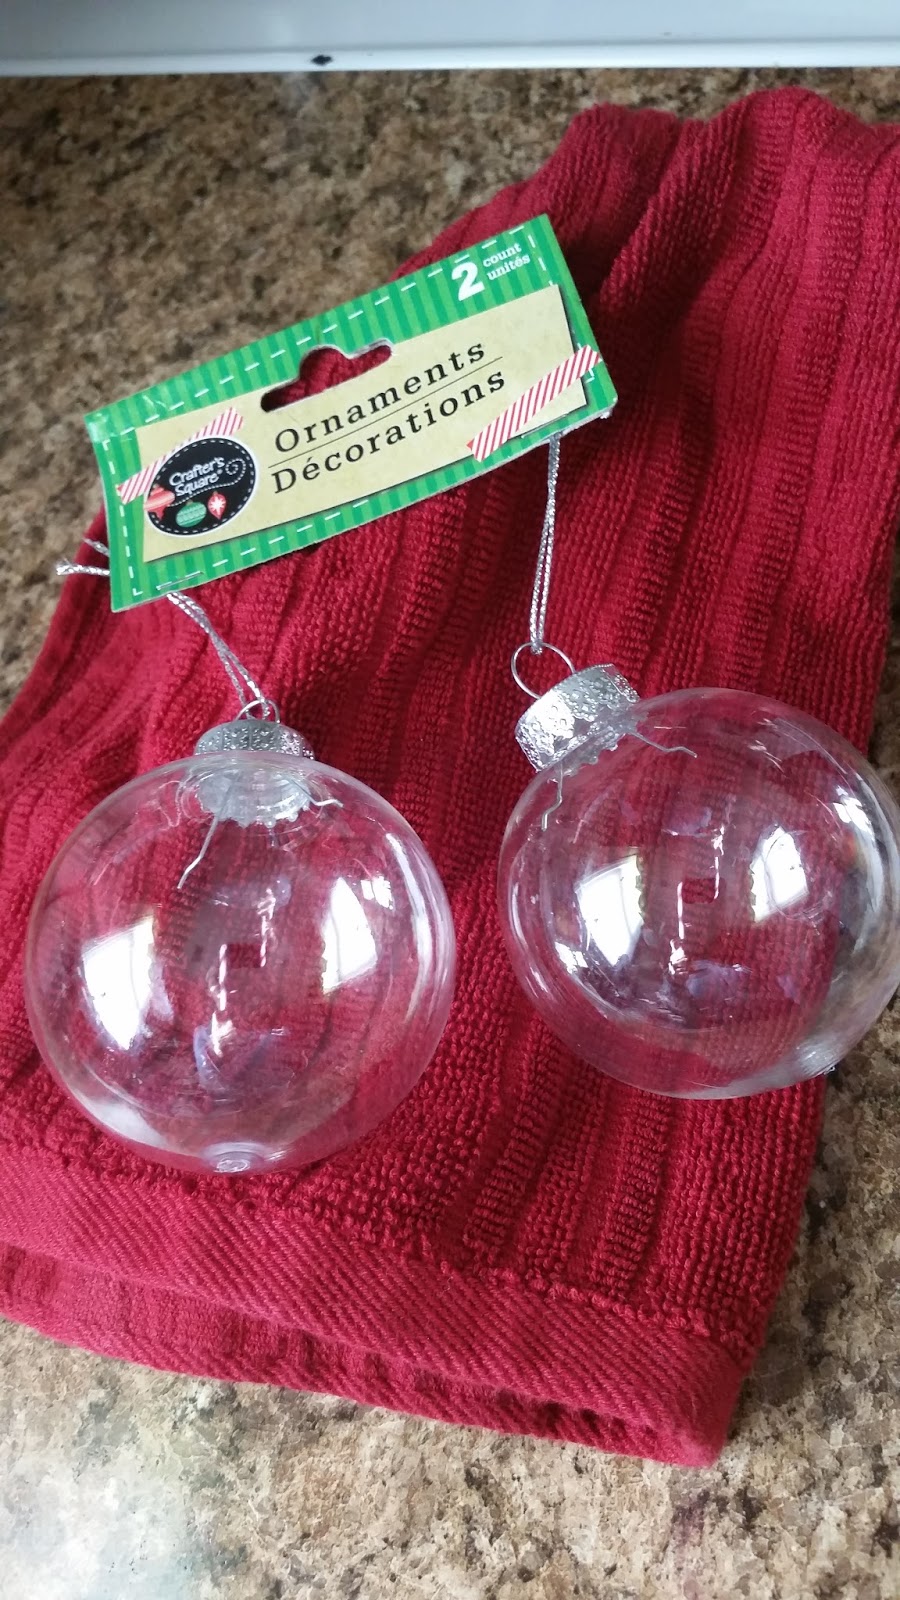

These plastic ornaments came from the dollar tree.  I like that you get two to a package.

Pinterest is great for any and everything.  You just need to have a plan in mind or risk the chance of losing time over searching for something and getting distracted and looking at something else.

  I have been on there looking at all things Christmas.  My daughter wanted somethings to give out and I wanted it to be unique.  I have no shame in that they are cheap gifts because they are homemade and unique.  The teacher will probably get tons of cookies, mugs and coffee gift certificates and when the air clears the food and drink will be gone!  


Cork Mouse!  For the mouse I used two corks.  1 for the whole body then I cut two circular pieces off for the ears. Face was applied with a marker.  Scarf was scrap ribbon. Arms, legs and tail were wire I picked up at the dollar store and twisted into limbs and after making an initial hole with a paperclip I pushed them in and secured them with hot glue. You could add a eyelet on top to make it an ornament.


Santa cork!  I deviated from the directions of painting him and just covered him in red felt.  Hat is also red felt with a cotton ball pulled apart for the trim and a white pompom.  Eyes are drawn on and his nose is loose felt rolled up.  His beard is pulled off a cotton table runner (dollar store purchase) but you could use a cotton ball pulled apart for this too.  Everything hot glued together.

The last two items made my daughter and I were like elves.  I made one and see made the other.  


We shredded a sheet of brown paper and she had the task of stuffing the ball.  The eyes and nose were hot glued down.  The antlers are one pipe cleaner.  I didn't have brown so it is black for this deer.  One piece of pipe cleaner wrapped around the top, then cut in half on each side and wrapped around again.


I loved this idea when I saw it and had to make it.  I didn't know a pig could be so cute.  He couldn't have been easier to make!  I didn't have pink paint so I went about it a little harder by adding drops of red and white and shaking it around the inside.  I was amazed and grateful to have found a pink button nose.  I drew in some little black beady eyes and cut out pink ears that I hot glued on.

There you have it folks! If you even have only a half hour you have time to make 4 cute, unique, homemade, handmade gifts!  

I'm glad I had glue sticks in bulk but after this season I may need to stock up on some more.

Have you made any unique gifts?  Have you gotten stuck on Pinterest for hours?  What's your favorite holiday item?

Thursday, December 8, 2016

Mini Wreaths (DIY)


  I have spent a lot of time on Pinterest.   Certain times of the year I spend more time on there then others.  In the spring I start looking at garden ideas and bright and festive fun, summer I am looking for kids activities and maybe some snacks but winter has me looking for gifts.

  Not everything I make is gift worthy (in my opinion) or turned out so neat I want to keep myself.  So stay tuned for the rest of the month to catch glimpse of what I'm making.  Most of it will be cheap (think dollar store purchases, recycle or items from home) and easy to make.

  Today its about the mini wreaths.  These can be made in a flash and decorated in a variety of ways to personalize them.  You need a ring from the top of a canning jar.


  I now have a couple jars without the lids but I heard you can buy just lids so I will hold on to that.  My jars have been sitting under the sink so it's about time something got done with at least a part of them.

  I choose twine for my first one but you can choose anything. Ribbon, garland, tape or anything you can wrap.


  After you have your wrap of choice start on one end and tightly wrap it around the lid.  You don't want to see the lid or any gaps.


  Continue around till you meet the place where you started.  I added a dab of glue to secure the end.


  You are finished with your wreath and ready to embellish it anyway you want.  I choose to make a simple bow for the top.  Grab some mini letters and make one for each of your kids, add some red puff paint and leaves for holly or wrap a ribbon around it.  The bare wreath is your canvas to personalize!


Do you have any plans to make ornaments or gifts this year?

Friday, January 8, 2016

Diy Project


One of my last DIY projects from last year sparked my interest in making the upcoming 2016 year a more hands on kind of year.  I wanted to expand and challenge my capabilities.  I shared with you the ornaments I made and I wanted to show you another type of ornament I made.

  For this upcoming project you needed some basic supplies.


  A glue gun, extra glue is always a good thing, ribbon and scrabble tiles.


  I actually had leftover ones from another project I did a few months ago.  So this was a great project to use the majority of them up.

  I purchased my tiles with the actual complete game of Scrabble at the thrift store.  You can however purchase just the tiles at various places.

For this project I assumed names pertaining to the holiday.


However you could easily make words pertaining to anything.  Based on what your going to use it for, when (holiday or not) and to whom your giving it too.


Glue the letters together and attach a ribbon.  You know have an ornament! Hang it on the Christmas tree, wall, a dresser knob, a gift tag for a present or even a rear view mirror.

 This was a super easy project to make; the hardest part was getting the tiles but once you get them you have unlimited possibilities.

I have a few of these ornaments left and what doesn't get distributed throughout the year will be given out for Christmas!

Be sure to keep following me as I share easy DIY projects.  Projects to keep or pass on as gifts.


Thursday, December 24, 2015

The Day Before Holidays


  Do you ever find yourself resting up for the big day?  Are you that organized?  You prepared your list the beginning of the month all the way down to what meal you were making and who was sitting by whom.

  Maybe you even figured out a schedule of what houses you were going to at what time and for exactly how long.  Not me, not this house.

  Today we have been making crafts. Well I have been assisting and making with my youngest daughter.  We visited several stores and brainstormed some ideas yesterday as to what she could give to her family.  She desperately wanted to give her family members something.  She was aware of the gifts they had for her and she wanted to give them something too.

  She did buy 2 items for her sisters and then made and I assisted in her creating ornaments for her family.


A melted snowman being created by little hands.

 Laying the glue down for a stand up snowman.

Supplies for a ninja turtle for a certain little fan.

Last one was a going to a fan of yellow creatures.  I loved this one because she decided it needed to be two sided. So we made the otherside into something else.  Hop over to my instagram to see the final ornaments.

I even got into the crafty mood.

Happy Holidays everyone! I wish for everyone to have a happy, safe and festive day!