Showing posts with label easy. Show all posts

Thursday, August 17, 2017

Banana Peach Non-Dairy Frozen Treat


  Today we are going to try an edible delight! I had a peach last night that was the best piece of fruit I have had in a while. The first bite was so juicy that I knew I was about to enjoy the rest of the fruit for the next 15 minutes.  I dragged the consumption out!  I took a bite, sat it down, came back from another and sat it down until sadly it was gone. No worries though because there were 4 more in the bag and No one else knew how good they really were.

  I have made the infamous non-dairy ice cream with bananas before but today I raised the bar! I added peaches!

2 ingredients and a food processor is all I used in addition to the freezer.

1 frozen banana


1 ripe peach

1. Blend the frozen banana in the food processor until smooth and creamy.


2.  I then refroze the creamy banana for a half hour.


3. Slice up some of your peach!  After I sliced a side I actually only used a tablespoon of the peaches for my 1 banana.


4.   Add your spoonful of peaches to the creamy banana blend together again and add it back to freezer for a couple hours or until it's reached a texture to your liking.


  Your healthy 2 ingredient non-dairy frozen dessert is done! Grab a spoon and dig in.  Now this is only one serving so if you don't want to share eat it when the kids are in bed! Or double the recipe and offer a healthy treat to the kids too.

  How else do you stay cool in the summer if not with a frozen treat?

Saturday, January 28, 2017

Top 5 Girls Hairstyles Roundup


  My daughter has such pretty hair and although I give her ponytails, and braids I want to do more with it.  It's fairly thin compared to my thick hair and looks amazing even when she wakes up without brushing it.

  Someone had posted about learning something new each month and learning to do new hairstyles was one of them.  I thought that was a great idea in regards to my child. Maybe I'll even figure something out for myself but not right now.

  However for right now I am sharing some hairstyles from Pinterest to help get the creativity juices flowing.  I selected ones I thought were easy or manageable to do.


  This one must be as easy as it looks because it doesn't even have instructions!


  This one provided a great you tube video but it's basic braids made into a bun and I have made buns before and braids so I think I got this one!

https://youtu.be/td2Jdgbxfjs

The Chignon


The Chignon looks easy enough if I have a bun mastered.  I hope this is the hardest one I have to pull off.  Does it matter the length of the hair I wonder?


I like the look of this one and even though the video looks easy enough I think it will be a challenge.  It's such a fun luck though.  If I complete it and the child at least pulls it off for a couple hours before she rubs her head on a blanket or jumps it out I will be happy!

https://youtu.be/I0B6KMJIZEI

  Lastly the bow.  I have done this one before so a second time shouldn't be a problem.  It's also another cute look that I like.


https://www.beautylish.com/a/vpqwn/hair-bows

  Ok let's see how this works out.  Challenge is good and change is sometimes ok.  I look forward to trying some of these hairstyles on my daughter and I know she will like them too.

  Do you plan on learning something new this year or month?  Do you change your hairstyle?


Wednesday, December 21, 2016

Christmas Ornaments equal Holiday Gifts


  Tis the season to break the bank or get creative.  Depending how many supplies you have on hand will depend on how many trips to the store but these trips still shouldn't break the bank.

  Over the last few days I have made items for my daughter to give as gifts.  A few trips to the dollar store and items I have had on hand have aided in some nice gestures of thoughtfulness and kindness.

  My two main items for gifts inspired by Pinterest:

A wine cork.  Which is really easy to find even if you don't drink.  Stop at a local restaurant, check with neighbors or even grocery stores that have wine tasting.


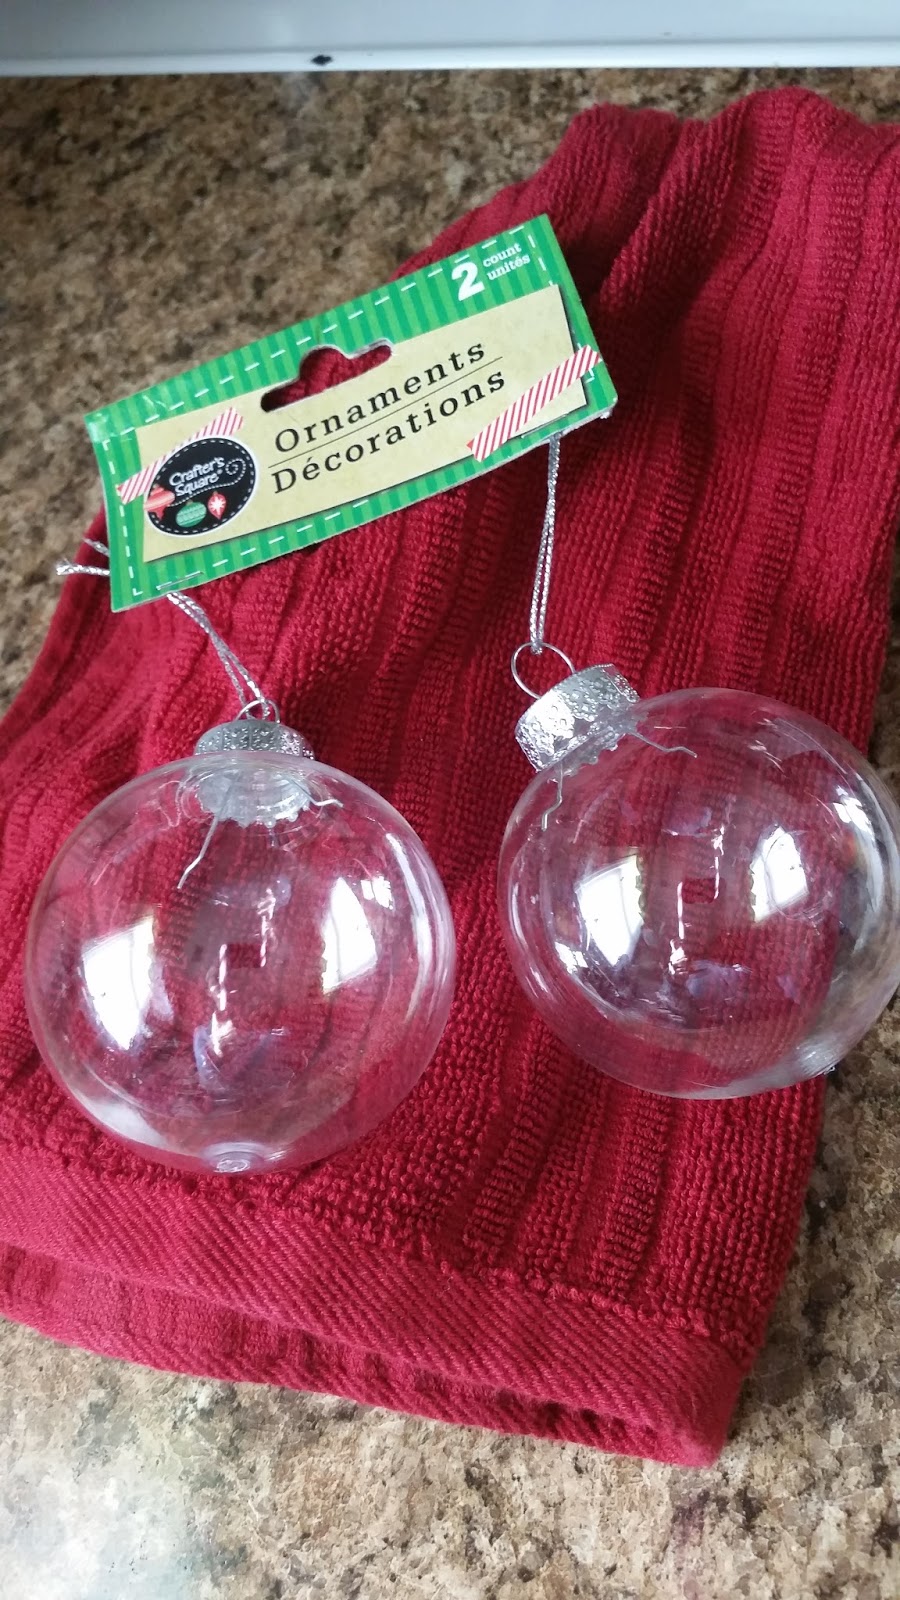
These plastic ornaments came from the dollar tree.  I like that you get two to a package.

Pinterest is great for any and everything.  You just need to have a plan in mind or risk the chance of losing time over searching for something and getting distracted and looking at something else.

  I have been on there looking at all things Christmas.  My daughter wanted somethings to give out and I wanted it to be unique.  I have no shame in that they are cheap gifts because they are homemade and unique.  The teacher will probably get tons of cookies, mugs and coffee gift certificates and when the air clears the food and drink will be gone!  


Cork Mouse!  For the mouse I used two corks.  1 for the whole body then I cut two circular pieces off for the ears. Face was applied with a marker.  Scarf was scrap ribbon. Arms, legs and tail were wire I picked up at the dollar store and twisted into limbs and after making an initial hole with a paperclip I pushed them in and secured them with hot glue. You could add a eyelet on top to make it an ornament.


Santa cork!  I deviated from the directions of painting him and just covered him in red felt.  Hat is also red felt with a cotton ball pulled apart for the trim and a white pompom.  Eyes are drawn on and his nose is loose felt rolled up.  His beard is pulled off a cotton table runner (dollar store purchase) but you could use a cotton ball pulled apart for this too.  Everything hot glued together.

The last two items made my daughter and I were like elves.  I made one and see made the other.  


We shredded a sheet of brown paper and she had the task of stuffing the ball.  The eyes and nose were hot glued down.  The antlers are one pipe cleaner.  I didn't have brown so it is black for this deer.  One piece of pipe cleaner wrapped around the top, then cut in half on each side and wrapped around again.


I loved this idea when I saw it and had to make it.  I didn't know a pig could be so cute.  He couldn't have been easier to make!  I didn't have pink paint so I went about it a little harder by adding drops of red and white and shaking it around the inside.  I was amazed and grateful to have found a pink button nose.  I drew in some little black beady eyes and cut out pink ears that I hot glued on.

There you have it folks! If you even have only a half hour you have time to make 4 cute, unique, homemade, handmade gifts!  

I'm glad I had glue sticks in bulk but after this season I may need to stock up on some more.

Have you made any unique gifts?  Have you gotten stuck on Pinterest for hours?  What's your favorite holiday item?

Thursday, November 17, 2016

Turkey Day

A turkey day from nature.


Grab a pinecone, leaves in different shapes and colors, and glue!


I drizzled glue into the crevices of the pinecone and then inserted the leaves.  Stack the leaves in largest to smallest from the back working your way forward.  See how I added my bigger leaves in the back and even added the colored ones in the front.

I cut out the head, beak and wattle and glued them together; then added the eyes.  Again you can add a drizzle of glue in the pinecone or just wedge it in.

I obviously skipped the feet part but I did use the caps of a milk container to prop them up or even angle them and it worked out perfect! 

Great project for kids and the uniqueness  of  their turkeys will shine through.

Gobble, gobble

#Nablopomo

Friday, August 5, 2016

Kiwi Art (pinterest challenge)


  The kiwi otherwise known as the hairy fruit in my house was the star of the show today.  Still on my pinterest kick even if I'm not posting daily.  Searching for ideas is just as fun as creating.

  Today we are playing with food. I am always so fascinated with food art.  I haven't created much I usually prefer to just eat it my food but today I had some fun and played with my food.

First up was a mouse.


 He was really easy to make and although I didn't slice him in half nor add a tail he's kind of cute.  

All you need is a kiwi, a knife and some eyes (I used mini chocolate chips).  Slice out some ears and round them slightly, turn them around and stick them into some sits on the top of its head.  Add eyes be it seeds, chocolate chips or sprinkles.  That's it.

Next up was a snake or two!  This food idea was partly why I choose not to slice my mouse in half. 

 For this you just need to peel the skin off your kiwi and slice it so you have circles.  Cut your circles in half and alternate the half moon shapes.  Make a head (I used the end of the kiwi as it was rounded and one color) add a mouth and eye.  These eyes were seeds from a watermelon but again you can use anything on hand.

There you go folks.  Two kiwi options for your next fabulous food display.  You can find the full instructions on my pinterest challenge board.

I declare this a pinterest win!

Sunday, July 31, 2016

Let's Recycle with Pinterest


  Again in case you have never checked out Pinterest I will help you get acquainted with them.  They are a platform above any and all you have ever met.  It is a clearinghouse of everything.  If you want to make a cake, make your own play dough or make a dinosaur out of toilet paper rolls.  You will find several variations and several skill levels all available at your fingertips.

  Since I receive products I have a fair share of boxes, bubble wrap and tissue paper passing through so why not use some of that?  Today's lucky recycle job pertains to bubble wrap.  Did you know if you get enough bubble wrap in a week even kids stop playing with it.

I actually used a small piece of bubble wrap but if you have a larger piece your in charge of how many pieces or the size of your end result.
Shower cap
You also need construction paper
White paint
Glue

 The jellyfish!
  The jellyfish was so fun to see after we were done.  Grab a shower cap that you took from the complimentary bowl at the last hotel you stayed at! I know I'm not the only one to help myself. This makes this craft kind of free.  Cut strips from your bubble wrap.  How many tentacles is your call.  Glue them on around the bottom of the cap.  We hung ours in the door way but, with some fishing line and a few more jellyfish cut at multiple heights dangling down from your ceiling would make a pretty neat scene for an underwater party.

Mary had a little lamb!  My 3 year old made this craft.  I cut out the bubble wrap into the sheep shape and he did the rest.  He painted it white.  He glued the eyes and head on and then added the eyes.  This would be a great craft to accompany a certain nursery song or story pertaining to sheep!  Paint the sheep any color to accommodate your theme. (Baa Baa black sheep)

  There you go two ideas I pulled off Pinterest that I declare a #pinterestwin.   Minimal artistic talent necessary, accessible supplies and easy to make even if your trying to fill a short period of time.

Sunday, July 10, 2016

Stop and Smell the Flowers (Pinterest Challenge Day 10)


  Another craft project but one you or kids can make! Afterall aren't we always looking for something for the kids to do?  This project can even be given away which is a bonus.

  I picked up some tissue paper the other day for another craft that I probably will never do but hey; I am doing one now so it all worked out.

  Grab some tissue paper, a circle shape to trace, scissors and a pipecleaner.

  I actually picked up my tissue paper variety pack at the dollar store so I'm not breaking the bank.


 I used the lid of a container to make a circle shape and cut it out.  I folded the paper a few times so by the time I cut the circles it was about 10 circles or so.


  After that you make a hole to punch in your stem and pull some of it up.  I twisted the tip a bit to get to stay in place.


   Next you start to crinkle/roll your flower.  Take each circle and bunch it up to make your flower full.


That's it.  By the time you are done with each circle to your flower you should have a very close paper resembling a flower.


  Think of the endless possibilities now.  I used yellow and only made one but, different colors and even a bouquet of flowers in a vase.  I'm just saying bridal shower, baby shower, birthday or Mother’s Day these flowers can help decorate any area.

  I declare this a #pinterestwin!  Super easy craft. A cute flower at the end of an easy process.  Endless possibilities with colors, cuts and could even spray some scent on there.

Saturday, July 9, 2016

Cheers to my Pinterest Challenge


  I have been stalking this idea/concept for about a week.  It took me awhile to get one ingredient.  I have a hard time with stepping out of the box and trying something without it being written down, so I just kept looking for this bottle at all the stores I went in.


Today I found the last ingredient and was going to make this drink!  It is so neat to see and I want to be responsible for making it happen.  You may not be impressed but my kids will be. Lol, one point for mom is good enough for me.

Apparently this is a great science project so my homeschool friends add this to your lessons.  The more sugar the heavier the drink.  So each drink you add has to be less than the previous one.

I started with red of course.  This red juice had the highest sugar percentage so it went in the glass first and straight to the bottom.


Next up was the med level sugar content drink.  My white drink was a coconut drink.  I thought about lemonade and wasn't sure if the color would be visible so I followed the directions and picked up a coconut drink. 


Can you see it?  Because  I can see it or at least I think I can see it.  At this point I'm so excited!  I have red and white; one more level and this is a winner.


  Blue! I added the blue and it swallowed up the white. This made me sad.  I was still happy yo see the color contrast but will need to work on this drink a little more.

  I used juice on the bottom, Sobe Coconut drink in the middle and a blue Gatorade on the top.   Again the highest sugar level should be on the bottom.  I added a bit of water to the blue to offset the sugar between the white and blue maybe that's where I went wrong.  Also you need to pour carefully.  I read pour it directly over ice, use the back of a spoon to slow the pour down but, bottom line is to not pour directly on the next layer.

  I am not done with this drink.  I will be back at it tomorrow.  We shall see what happens or worse case is I will keep at it sporadically until I make it happen!

  I'm going to chalk this one up as a #pinterestwin because I had two layers then two different layers.  I just need to perfect this one and I am confident it is an easy fix.

  Go ahead and try it with or without the kids; it's a fun party trick regardless!

Wednesday, July 6, 2016

Day 5 and 6 Pinterest Challenge (all about watermelons)


  Ok, I'm going to cheat and throw a few ideas at you today (this allows me to stay ahead of the game with other ideas that area already done, yeah).  I bought a watermelon the other day and so I am using it to be creative.  Chopping it up and eating
 a bowl of it is so boring compared to what you can do to it with a few extra minutes and some basic kitchen tools!

  I share with you the basic concept and end results but for more in depth directions you can find it under my pinterest challenge board on pinterest. Find me @meanroel.  Or go directly to it here.

  First easy watermelon idea is ice cubes. Chop some up put them in a bowl or cookie sheet (flat surface works easier) and freeze them.


Then toss them in any of your drinks for an extra burst of sweetness and flavor.


  Next up 2nd easiest thing you can do to transform your watermelon is cutting it up.  Grab a cookie cutter


 and make some shapes.  Due to the present holiday.  The theme was stars!

Throw some extra fruit up there and make it a festive snack bowl. Red, white and blue anyone?


I think the stars make it even better than a wedge.  It just makes the dish prettier.

Last idea with the watermelon for today was using part of the shell.  Lol, because now I realize how valuable it is.  


Now let me be the first to tell you this is a vessel.  It is not garbage.  You can recycle your watermelon shell! Are you excited??


Add some jello! 


I used strawberry jello.  So of course it looks very realistic but you could have some fun and add a different color.  My daughter couldn't wait to try this treat out.  

  It was easy to make and I will make it again.  I used one packet and used the top cap of the watermelon.  I placed it in a bowl to set it in the fridge as it was not stableon it's own.  If I had cut it length wise it may sit better.  Slicing the watermelon was not a problem either.  It held its shape very nicely.

Ladies and gentlemen I would have to say it's a definite #pinterestwin!

Tuesday, May 17, 2016

Hot Strawberry Dessert


  While I sit here and rummage through the Internet I always think to myself.  Is this a good recipe?  This recipe looks good! I hope this one is good.  We like strawberry shortcake so another strawberry dish with breading should be a hit so tonight we are eating Strawberry Cobbler!

  This was an easy recipe to make.  You should have all ingredients on hand.  Basic staples with an exception of the strawberries.  So put strawberries on your grocery list and make this for dessert!

  I didn't use as much sugar but I also didn't use as many strawberries.  Next time I will use more strawberries and double the recipe.  Start with your sugar and strawberries first to let the flavors blend together.

I did have my separate bowl of batter!

Then added the strawberries to the batter prior to baking!

  This was definitely a pretty dish.  My strawberries did fall under the crust.  I'm not sure if there were more strawberries if they would stay on the top more or not?  The crust was soft on the inside and a slight crunch to the sides.  The strawberries despite my reduction of sugar was just the right bit of sweetness.  This was delicious warm and I'm sure when I grab a piece in the morning it will taste just as good.


Check out the recipe here: http://divascancook.com/fresh-strawberry-cobbler-recipe-easy-dessert/