Showing posts with label crafts. Show all posts

Monday, November 13, 2017

School with Letter F


Letter F was fun.  There's a lot that can be done with food, actions and places to visit.  I'm not saying we went to a farm or rode a firetruck.  We didn't make a fan and he didn't eat frosting out the can but, we could have.


Letter writing is a definite daily and weekly thing. There is no fine-tuning.  I'm happy when it resembles the letter.  Working in between lines is a challenge but he concentrates very hard.


F is for face.  He cut out the parts, glue and applied them to the appropriate spots.


F is also for firemen! Fire hats, hoses 


and fire hydrants.  We went outside to color ours more accurately.


Our first snack was goldfish.  I could have picked up some Swedish fish but, Halloween was the other day and we don't need more candy.


F is for fireworks.  This worksheet is a favorite for him.  He likes to dab the spots with the bingo dabbers.


I found this fish counting/match cards.  If you can't figure out the numbers then you have to count and figure it out.


This is an old spiral dry erase workbook with various activities to do.


I would have liked to take him fishing but, I let him play the fishing game instead and sometimes games are more fun then waiting patiently to catch a fish.


Lastly, F is for flying.  Bats are for Halloween so this was a perfect craft for the week.  Here is the original post and instructions for this fun craft!

  Thank you for following along in our school.  I hope you walk away with a little inspiration and motivation to teach and play with your kids!

Tuesday, March 21, 2017

Spring Foam Fun


  It's spring time and that gives us a chance to take a closer look at little creatures and appreciate colors and flowers.   I thought it would be nice to make our own spring scene on the window.

  I thought about what spring meant to me.  Flowers, sun, birds, clouds, ladybugs and spiders.  I am working on a couple more pieces that I'll add to it and I'm sure I will get special requests.

  I cut out pieces out of foam and colored some of them to fit my image.  I had foam on hand from separate purchases at The Dollar Store and Walmart.


  I was busy cutting and making details on like things like spots for the ladybug and legs for the spider to list a few.  It didn't take that much more effort but sometimes it makes me feel better when things I make can be identified without questions.


For these to stick on the window they need a little water. To minimize mess I added a small amount of water into a medicine cup and added a paper napkin. Just dip your finger in.


The medicine cup is just the right size for little fingers.  Dip your finger in the cup then wipe the water onto the foam.


Stick the foam piece on the window. It's all about the placement. So of course the clouds are getting placed in the sky.

This is a super inexpensive way to keep your kids constructively busy.  I will be using this as a learning tool for my son.

What color is this flower?
How many legs are on the spider?
What are the leaves attached to?
What shape is the sunrays?


We have previously played with foam pieces in the bathtub as well check that out here.

Next up I will be making a foam garden with vegetables! It will probably do better then a real garden tended by me. 

Wednesday, March 15, 2017

Pot of Gold Craft


  I wanted to make something to give away that represented the upcoming holiday, but was easy enough for kids to help.


  Green is the focal point and everyone wants gold but in this case chocolate will have to do.  Does that about sum up St. Patrick's Day?

                 
  I picked up the pot at Walmart for under $1.00

  Pipe cleaner I had on hand would have rather had gold but silver had to do.


Purchased a spool of black ribbon under $2.00 also at Walmart.


  Paint was 2 for $1.00 also at Walmart, so I grabbed a couple colors and one was the green.

 Hot glue to hold everything together I had on hand!

  No plans for these pots to go outside so I just painted them first.


  Figure out your ribbon placement and cut it appropriately and secure it with hot glue.


  I had to decided based on the size of my ribbon how big I wanted the buckle.  Which was 2 pieces bent into "L" shapes and one piece for the middle.  I then glued it in the middle with the hot glue gun.


  Lastly, I had to add gold to my pot.  This officially completes the pot!  I'm considering to give packets of seeds away on Earth Day.


         Happy St. Patrick's Day everyone!

Monday, March 13, 2017

S'mores fireside


  Spring is slowly approaching which means the family and I can spend more time outside warm and comfortable.  We spend our time hiking, biking, boating and spending some quality time at the beach.  We even go camping a few times over the summer.

  I recently read that March is National Craft month and I wanted to jump in on the fun.  Although I didn't make this craft up it was fun to make and will get the kids extra excited for our future camping.


  What a fun craft to have the kids make for f is for fire, c is for camping, m is for marshmallows.  So many ways to fit it in to your craft line up or just because it's cute, easy and fun!

 Find the full directions here.

Thursday, February 9, 2017

W is for Watermelon ( kids craft)


  This week we are discussing the letter w here.  I decided we needed to make a craft and watermelon it was.  Which is almost kind of sad considering my little student doesn't even like watermelons.

  For this craft you may already have the basic supplies on hand.


1 paper plate
Red paint
Black paint
Paint brush
Scissors 
Glue
Q-tip
Green paper

  I selected this craft and made it especially like this to allow different tools and techniques for my son to complete.

  Folding, cutting, gluing, painting and dotting.  They all take a different level of not only patience but also require you to change your thinking, hand and eye coordination and actually watch the creativity of the watermelon be born as he's working on one step at a time. 


Fold the plate in half.  I did this part and made it as even as I could.  Older kids could probably do this by themselves.


Cut the green sheet for the rind.  The size of the pieces don't matter.  So give your little one the scissors and let them go at it.


After the rind was put on we colored the inside red.  I think it probably works better this way then glue first and paint second just based on mess I'm assuming.


After the red paint has dried we added black dots to represent the seeds.  I used q-tips for this part as it would make the dots smaller.  Challenges the little ones with their grip and precision.


The perfect watermelon.  It sits up and painting both sides gives it a nice look.  Of course you could use this piece for naming the parts or incorporating it into a lifecycle of a watermelon.  We discussed the colors and the different parts.  I wonder if the next time I pick it up at the store if he will eat it.


What's your favorite fruit?  I made several pinterest recipes utilizing watermelon last year. Check that out here.

Wednesday, December 21, 2016

Christmas Ornaments equal Holiday Gifts


  Tis the season to break the bank or get creative.  Depending how many supplies you have on hand will depend on how many trips to the store but these trips still shouldn't break the bank.

  Over the last few days I have made items for my daughter to give as gifts.  A few trips to the dollar store and items I have had on hand have aided in some nice gestures of thoughtfulness and kindness.

  My two main items for gifts inspired by Pinterest:

A wine cork.  Which is really easy to find even if you don't drink.  Stop at a local restaurant, check with neighbors or even grocery stores that have wine tasting.


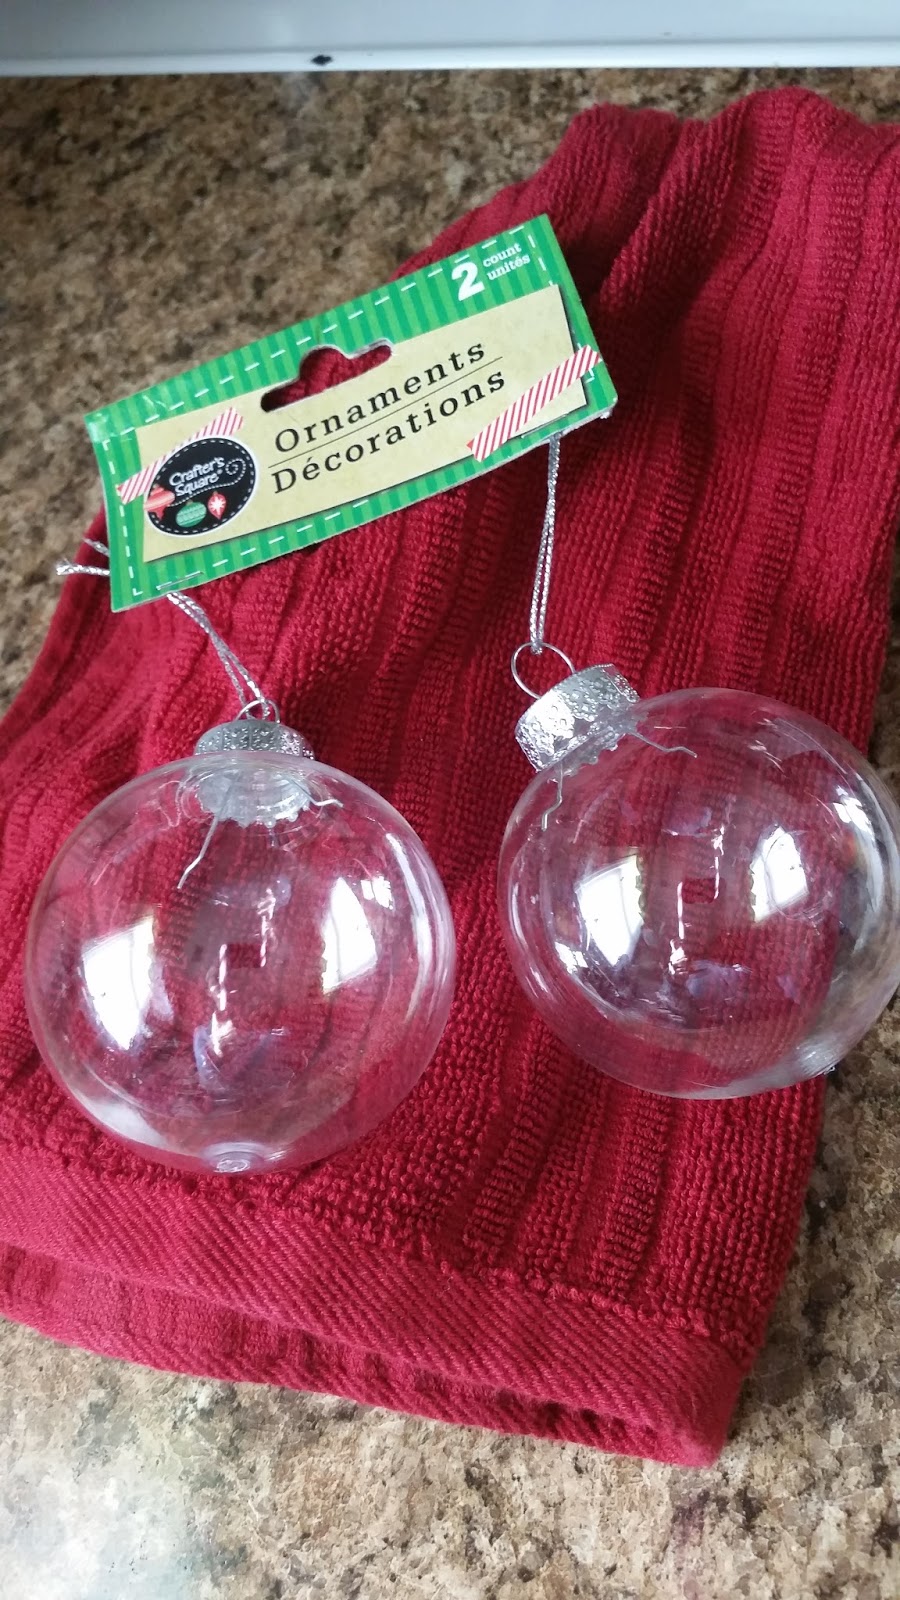
These plastic ornaments came from the dollar tree.  I like that you get two to a package.

Pinterest is great for any and everything.  You just need to have a plan in mind or risk the chance of losing time over searching for something and getting distracted and looking at something else.

  I have been on there looking at all things Christmas.  My daughter wanted somethings to give out and I wanted it to be unique.  I have no shame in that they are cheap gifts because they are homemade and unique.  The teacher will probably get tons of cookies, mugs and coffee gift certificates and when the air clears the food and drink will be gone!  


Cork Mouse!  For the mouse I used two corks.  1 for the whole body then I cut two circular pieces off for the ears. Face was applied with a marker.  Scarf was scrap ribbon. Arms, legs and tail were wire I picked up at the dollar store and twisted into limbs and after making an initial hole with a paperclip I pushed them in and secured them with hot glue. You could add a eyelet on top to make it an ornament.


Santa cork!  I deviated from the directions of painting him and just covered him in red felt.  Hat is also red felt with a cotton ball pulled apart for the trim and a white pompom.  Eyes are drawn on and his nose is loose felt rolled up.  His beard is pulled off a cotton table runner (dollar store purchase) but you could use a cotton ball pulled apart for this too.  Everything hot glued together.

The last two items made my daughter and I were like elves.  I made one and see made the other.  


We shredded a sheet of brown paper and she had the task of stuffing the ball.  The eyes and nose were hot glued down.  The antlers are one pipe cleaner.  I didn't have brown so it is black for this deer.  One piece of pipe cleaner wrapped around the top, then cut in half on each side and wrapped around again.


I loved this idea when I saw it and had to make it.  I didn't know a pig could be so cute.  He couldn't have been easier to make!  I didn't have pink paint so I went about it a little harder by adding drops of red and white and shaking it around the inside.  I was amazed and grateful to have found a pink button nose.  I drew in some little black beady eyes and cut out pink ears that I hot glued on.

There you have it folks! If you even have only a half hour you have time to make 4 cute, unique, homemade, handmade gifts!  

I'm glad I had glue sticks in bulk but after this season I may need to stock up on some more.

Have you made any unique gifts?  Have you gotten stuck on Pinterest for hours?  What's your favorite holiday item?

Sunday, November 20, 2016

Letter H Preschool (recap)


Letter H can get the creativity going at a intense speed.  H is for hammer. The boy loves his hammer.

He did get to start his week off with a horse (ok I know it's a pony but close enough).


  Even when I give him worksheets I try to change them up.  Some of the ones in his workbook I keep from letter to letter but hands on ones I change the rules on sometimes.


  Instead of using dot markers we used beans this time but, first he had to make alphabet soup!


 He was digging out the beans.


Pouring them in the pot to cook.


Now he had to use the pot holder because the pan was h for hot!


He found the letter H!

He also used his fingers to make the h on this worksheet.


  Hand eye coordination, patience and slowing down was all practiced with this page!

  Did you catch our h for hand turkey project?

He tried to make hearts for his h worksheet.  I tried to show him with two fingers and one finger but that was the same unsuccessful outcome.  He knew what it was supposed to be and kept trying.  Maybe by February he will have perfected it.


Lastly we finished with playdough!


H is for happy!  For this I asked for a face and he said he couldnt.  I showed him a few and he realized a face needed more than just a mouth.  I asked for 3 happy faces and I got them! 

#nablopomo